This tutorial covers how to add anything that might have a 3D object representation in game. At the time of writing, this category is Buildings.
For adding a new building you can find an example setup in the ISModKitUnity project contained in the ISModKit . If you’re unsure how to use any of the tools or how it’s supposed to be set up, have a look at that and see how it’s done there.
Example Walkthrough on how to make buildings
1. Make a folder for your asset(s)
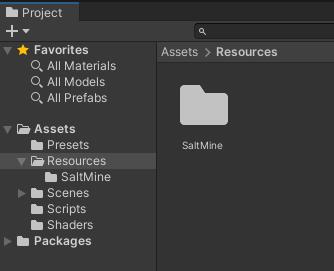
In order to use your assets, we will use the Unity ISModKit to compile your 3D models, materials, textures and icons into one .isasset file. For this purpose create a folder in the Resources folder in Unity. One folder will be compiled to one .isasset file, no matter what’s in there. This way, you can organize your assets however you like.
2. Make a 3D model
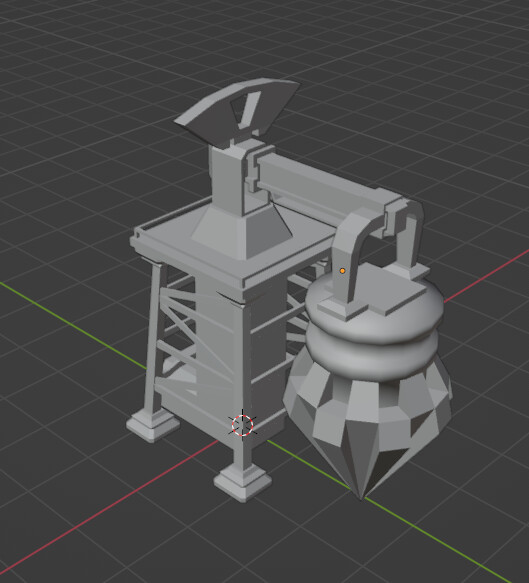
Use blender or any other tool to make a 3D model of your idea. For inspiration and templates, you can have a look at Sketchfab or other places where you can get assets. Make sure to not violate any licenses.
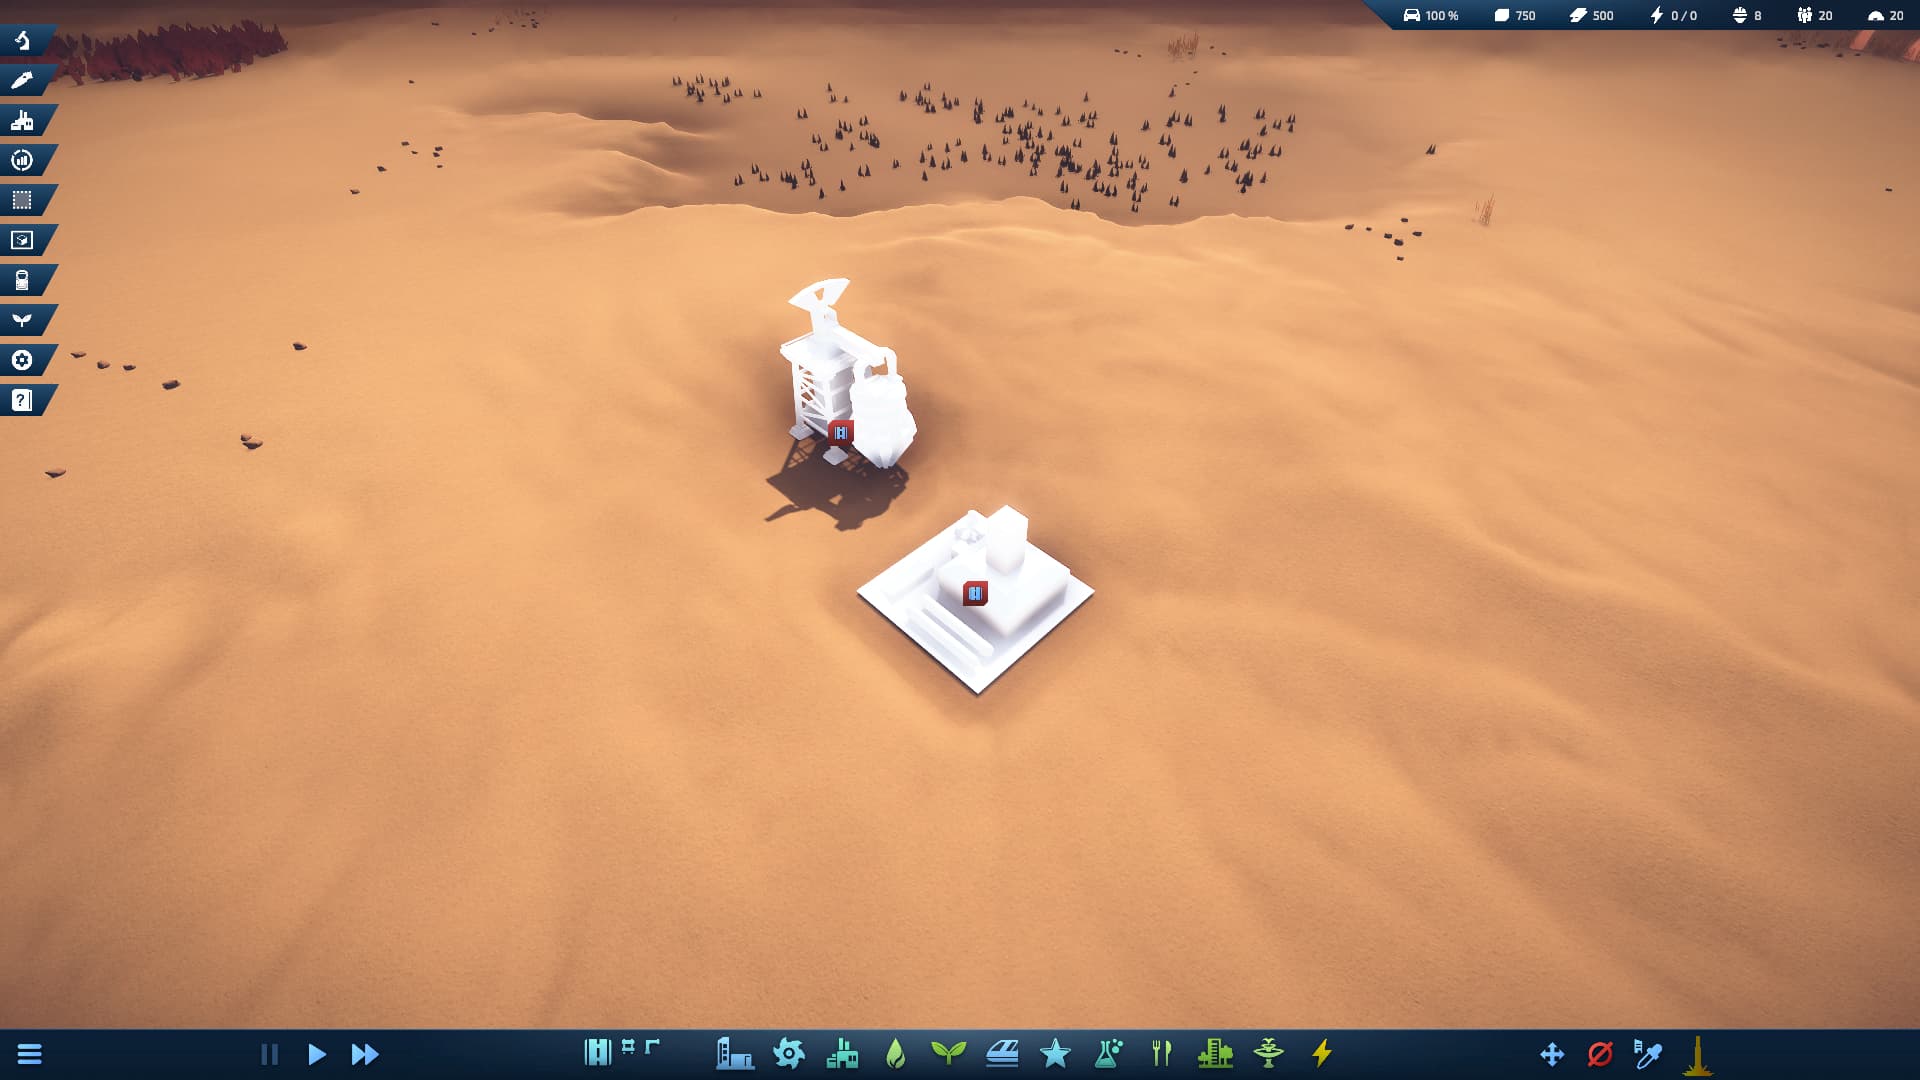
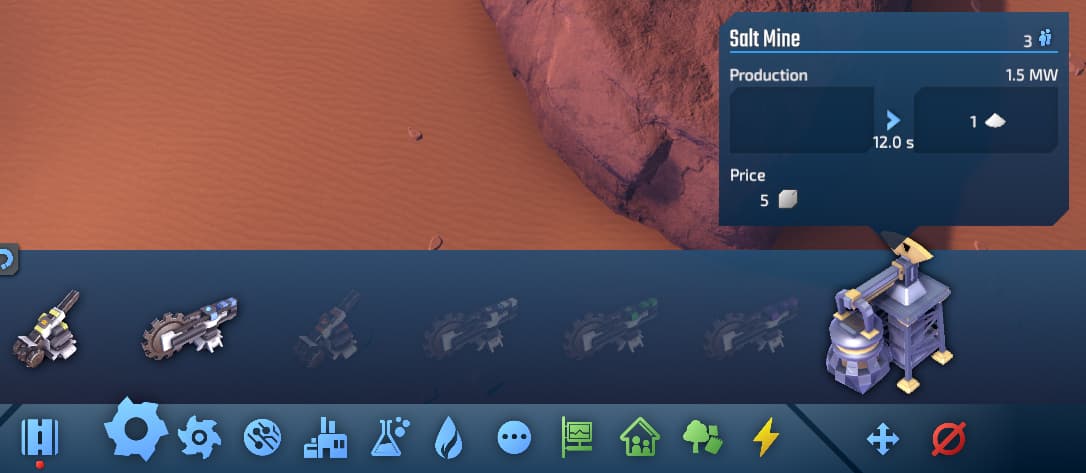
Put your model in the Resources/MyBuildingAsset folder. For this example I’ll be using a model of a Salt Mine created by one of Dionic Software’s artists for this very tutorial.
3. Set up materials
Simply create a new Unity material using the Unity Standard Shader or any Shader in the Custom category.
For many people, the Standard Shader workflow is the easiest way of coloring your object, because it’s what they’re used to.
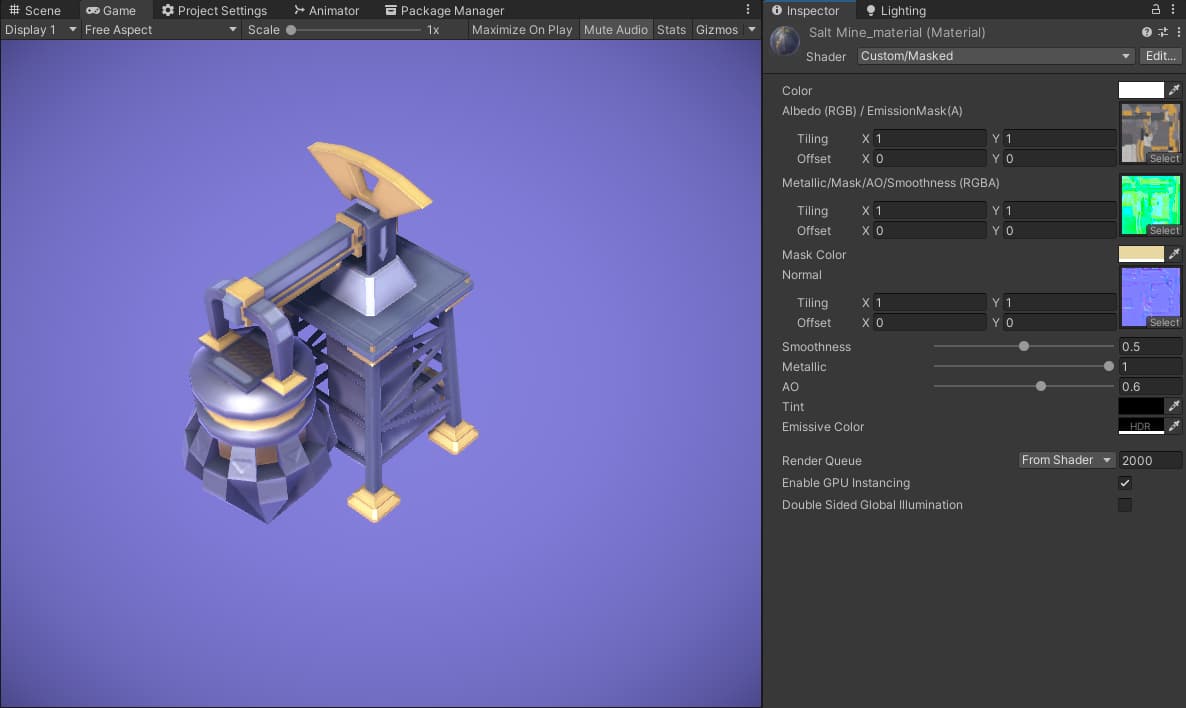
We devs use the “Masked” shader from the Custom shader category to save some space on textures and add a cohesive look to the building materials. It is based on the Standard Shader so if you use that instead, your building will look just as nice. Do note that the Masked shader requires two custom textures:
- Albedo (RGB)/EmissionMask(A) - This texture contains the albedo, colour texture in the RGB channels and an emission texture in the alpha channel
- Metallic/Mask/AO/Smoothness (RGBA) - This texture contains the metallic texture in the red, mask texture in the green, ambient occlusion in the blue and the smoothness texture in the alpha channel
We don’t recommend this workflow to newcomers and people used to working with the Standard Material. If you do want to know more about it, let me know.
4. Make Icons
Your buildings will need an icon in order to be visible in the selection panel:
-
yourBuildingNameIcon.png- make sure the image is of square proportion
You can use any tool you want to make these Icons. We provide a setup to ease the creation process. In the SampleScene the camera is set up in a way that it angles close to how our original icons were created. The scene also contains the post processing setup of the in-game scene to make sure your building is lit and presented in a similar way to that of the gameplay representation. To make it even easier, you can use the skybox material from the “Scenes/SampleScene_Profiles” folder. There is a greenscreen skybox that you can just drag and drop onto your scene to make it easier to do the cutout later.

5. Add a drop shadow to the icons
Most icons in InfraSpace have a black drop shadow. For most people it’s easiest to just open GIMP and add a black drop shadow themselves. You can use any image editing software of your choice.

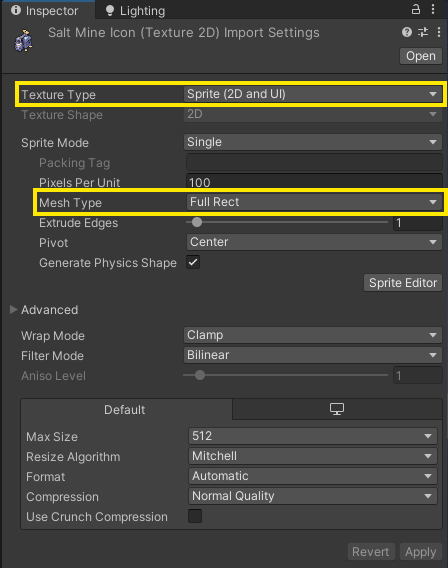
Finally, copy your icon over to your asset folder and check if the settings in Unity are set correctly:
6. Animating your buildings
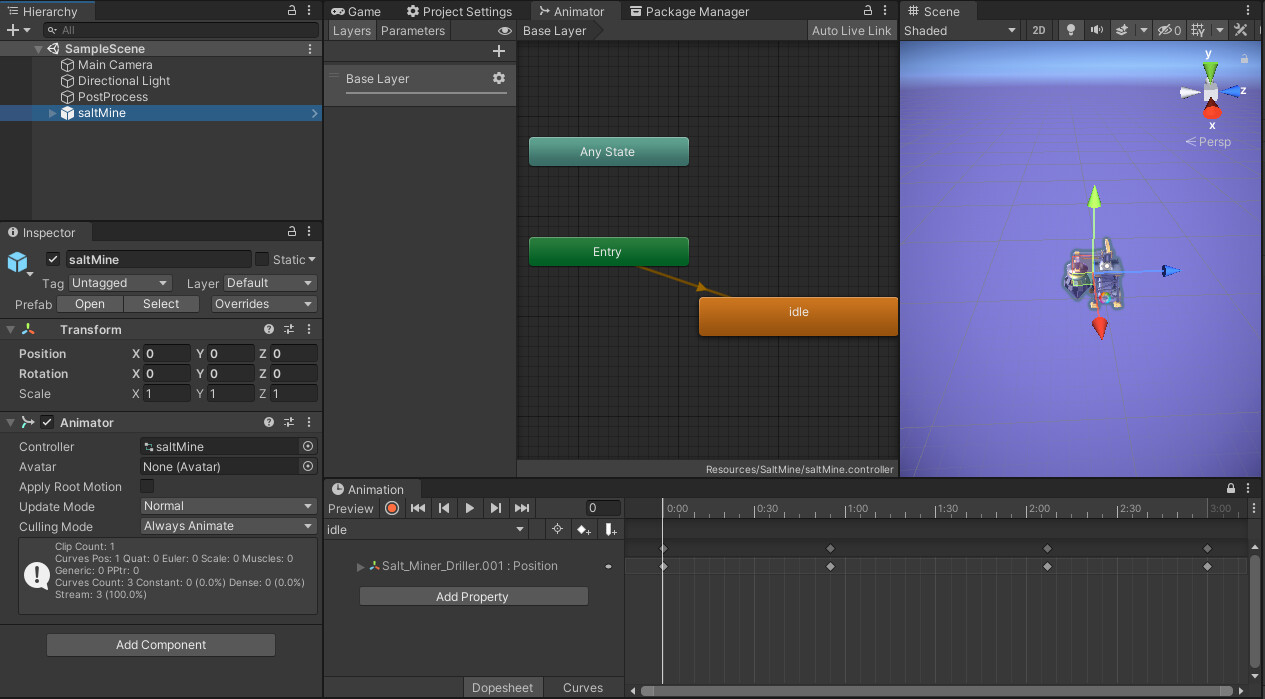
You can add animations to your buildings that will automatically be configured once you enter the game. This means, if the animation is set up right, it will play only when the building is active and its speed will vary on how productive the building is.
You have to make sure is that your building has an animator on it, and its animation controller has the default animation state set to the animation you want to play. For the salt mine the animation has been created in Unity and is called “idle”. Also don’t forget to set the animation to loop correctly.
7. Compile the .isasset file
First, make sure that all of these necessary files are in your Resources/MyBuildingAsset folder:
- The 3D objects you want to include
- Any accompaning materials and textures
- The icons, properly named
Next, select this folder in the Unity Hierarchy Panel - not in the tree view, but in the big panel.
Right click on the folder and click “Build Asset Bundle”.

In the folder ISModKit/BuiltAssetBundles the tool has now created a MyBuildingAsset.isasset file. This is the compiled version of all the work. Copy this folder in your mod folder and the game automatically has access to all the assets contained in it!
8. Configure your buildings.json file
In order to use any new building in the game, you need to tell InfraSpace about it. This is done by writing json files. In this example, we create a configuration file for our new building. Put a file called buildings.json in your mod folder.
For guidance on how to configure your building, check the example building in the SaltMine example mod contained in the ModKit. Link to online version here.
For more examples, check the game’s own configuration files. They can be exported from the Mods menu.
9. Add a name and description for your object
Check example localization.json file in the SaltMine example mod to find out how to add the necessary text for your object. If you want, you can even support different languages.
10. Add your building to the menu
Your building is ready but it needs to be added to the building menu at the bottom. You can do so by creating a new configuration file for the constructionCategories.json. In here you can select what category you want you building to fall under. At the time of writing the available selections are:
- Roads
- Mines
- Large Mines
- Refinement
- Production
- Science
- Liquids
- Miscellaneous
- Life Support
- Habitats
- Services
- Power
But you can see the up-to-date categories by exporting the json files and checking the constructionCategories.json for yourself. You can create your own constructionCategories.json and add your own building to an already existing category as seen in the SaltMine example mod:
{
	"Mines": [
		"saltMine"
	]
}
10. Test your object in the game!
Now it’s finally time to test your new object in the game! Once the buildings.json and MyBuildingAsset.isasset files are in your mods folder, you can start a new game and have a look in the build menu. Depending on the value set in constructionCategories you can find it in different places in your build menu.
Check if eveything works as intended. If it does, celebrate! Congrats! You made it!
In case anything went wrong…
- check the console output for any errors
- check if you kept your naming consistent. If your 3D model is called
aSpecificName, you will need to call itaSpecificNamein thebuildings.jsonfile and icons need to be calledaSpecificNameIcon.pngfor the game to find them. - double check this tutorial if you forgot anything
- check the Example Mod to see if your items are set up the same way
- ask the community and the devs if they might be able to help you out